| Latest | Greatest | Lobby | Journals | Search | Options | Help | Login |
|
|
|
| Home » Discuss » DU Groups » Home & Family » DIY & Home Improvement Group |
|
| TrogL
|
Fri Apr-04-08 05:25 PM Original message |
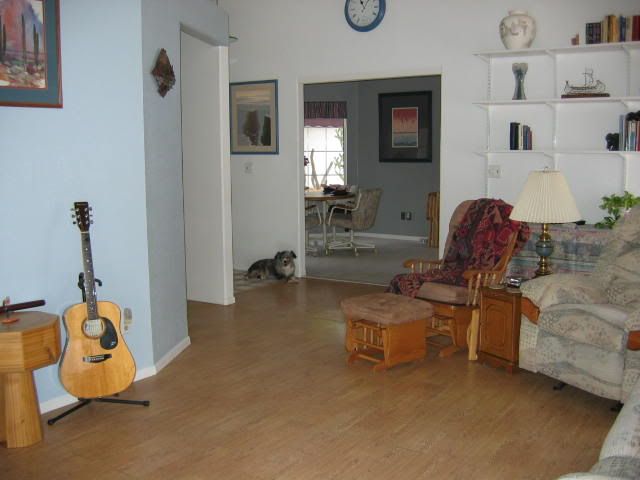
| I need to re-think my kitchen floor |
| Refresh | 0 Recommendations | Printer Friendly | Permalink | Reply | Top |
| NMDemDist2
|
Fri Apr-04-08 05:33 PM Response to Original message |
| 1. is the floor so far gone you can't patch and sand and refinish? |
| Printer Friendly | Permalink | Reply | Top |
| TrogL
|
Fri Apr-04-08 11:25 PM Response to Reply #1 |
| 2. The hardwood looks like a machine gun's been fired through it |
| Printer Friendly | Permalink | Reply | Top |
| Grateful for Hope
|
Sat Apr-05-08 01:18 PM Response to Reply #1 |
| 6. Sorry to hear this, AZDem |
| Printer Friendly | Permalink | Reply | Top |
| NMDemDist2
|
Sat Apr-05-08 02:02 PM Response to Reply #6 |
| 8. sigh |
| Printer Friendly | Permalink | Reply | Top |
| Grateful for Hope
|
Sun Apr-06-08 11:07 AM Response to Reply #8 |
| 9. I guess it is "live and learn" |
| Printer Friendly | Permalink | Reply | Top |
| NMDemDist2
|
Sun Apr-06-08 12:07 PM Response to Reply #9 |
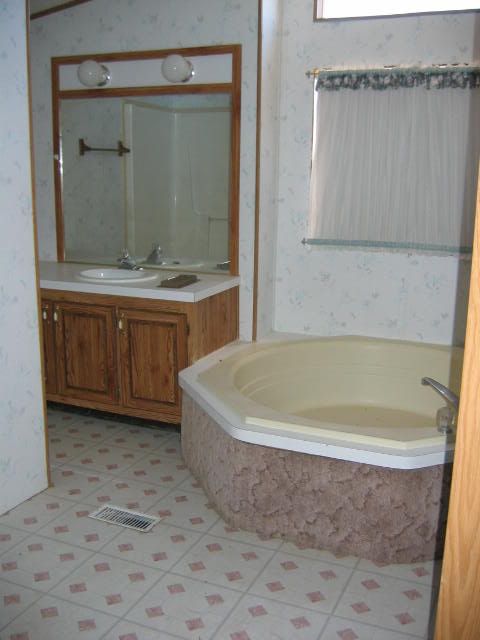
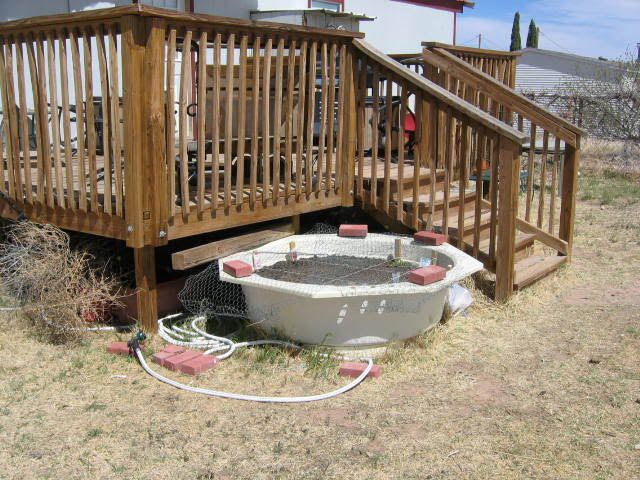
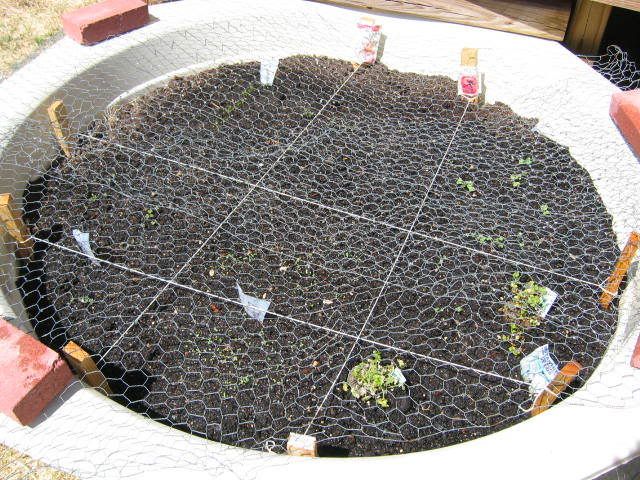
| 10. thanks! BTW did you see the pics of what I did with the monster garden tub? |
| Printer Friendly | Permalink | Reply | Top |
| Grateful for Hope
|
Sun Apr-06-08 12:24 PM Response to Reply #10 |
| 11. I remember that monster tub! |
| Printer Friendly | Permalink | Reply | Top |
| NMDemDist2
|
Sun Apr-06-08 12:31 PM Response to Reply #11 |
| 12. the deck is nice. I have all the chairs laid on their sides right now |
| Printer Friendly | Permalink | Reply | Top |
| fudge stripe cookays
|
Tue Apr-15-08 11:49 AM Response to Reply #1 |
| 19. . |
| Printer Friendly | Permalink | Reply | Top |
| NMDemDist2
|
Tue Apr-15-08 11:54 AM Response to Reply #19 |
| 20. slick as snake snot |
| Printer Friendly | Permalink | Reply | Top |
| Quakerfriend
|
Fri Apr-04-08 11:37 PM Response to Original message |
| 3. You really are too funny, TrogL. But, I have great |
| Printer Friendly | Permalink | Reply | Top |
| Wash. state Desk Jet
|
Sat Apr-05-08 01:22 AM Response to Reply #3 |
| 4. ! |
| Printer Friendly | Permalink | Reply | Top |
| Warpy
|
Sat Apr-05-08 12:56 PM Response to Original message |
| 5. Kitchen floor camouflage |
| Printer Friendly | Permalink | Reply | Top |
| Grateful for Hope
|
Sat Apr-05-08 01:26 PM Response to Reply #5 |
| 7. Couldn't agree more |
| Printer Friendly | Permalink | Reply | Top |
| Dora
|
Sun Apr-06-08 05:27 PM Response to Original message |
| 13. We made a brown-paper floor as a temp solution. |
| Printer Friendly | Permalink | Reply | Top |
| TrogL
|
Sun Apr-06-08 09:19 PM Response to Original message |
| 14. I think I've found the solution |
| Printer Friendly | Permalink | Reply | Top |
| NMDemDist2
|
Sun Apr-06-08 10:30 PM Response to Reply #14 |
| 15. that should work |
| Printer Friendly | Permalink | Reply | Top |
| Wash. state Desk Jet
|
Mon Apr-07-08 11:45 AM Response to Reply #14 |
| 16. Good luck and |
| Printer Friendly | Permalink | Reply | Top |
| TrogL
|
Mon Apr-14-08 03:12 AM Response to Reply #16 |
| 17. what kind of glue? |
| Printer Friendly | Permalink | Reply | Top |
| Wash. state Desk Jet
|
Mon Apr-14-08 09:32 PM Response to Reply #17 |
| 18. Multi purpose glue for sheet flooring-located |
| Printer Friendly | Permalink | Reply | Top |
| TrogL
|
Fri Jun-13-08 01:08 PM Response to Reply #18 |
| 22. I'm laying this |
| Printer Friendly | Permalink | Reply | Top |
| Wash. state Desk Jet
|
Fri Jun-13-08 02:56 PM Response to Reply #22 |
| 23. Going over to home depot to pick up some materials for up coming project Monday |
| Printer Friendly | Permalink | Reply | Top |
| Wash. state Desk Jet
|
Fri Jun-13-08 10:37 PM Response to Reply #23 |
| 24. new product |
| Printer Friendly | Permalink | Reply | Top |
| TrogL
|
Sat Jun-14-08 01:43 AM Response to Reply #23 |
| 26. Pics |
| Printer Friendly | Permalink | Reply | Top |
| Wash. state Desk Jet
|
Sat Jun-14-08 01:15 AM Response to Reply #22 |
| 25. On the holes |
| Printer Friendly | Permalink | Reply | Top |
| Wash. state Desk Jet
|
Sat Jun-14-08 03:48 PM Response to Reply #25 |
| 27. You got a lot going here. |
| Printer Friendly | Permalink | Reply | Top |
| Wash. state Desk Jet
|
Sun Jun-15-08 01:34 AM Response to Reply #27 |
| 28. I ment 1 and 1/2 inch drain pipe or vent line! |
| Printer Friendly | Permalink | Reply | Top |
| TrogL
|
Sun Jun-15-08 06:52 PM Response to Reply #27 |
| 29. I had my ex-father-in-law over for a look |
| Printer Friendly | Permalink | Reply | Top |
| Wash. state Desk Jet
|
Mon Jun-16-08 02:43 AM Response to Reply #29 |
| 30. I replaced the turkey baster with the $2.00 hand pump! |
| Printer Friendly | Permalink | Reply | Top |
| Silver Gaia
|
Tue May-20-08 02:16 AM Response to Reply #16 |
| 21. Just a quick post to say I agree with this. It's good advice, IMO. |
| Printer Friendly | Permalink | Reply | Top |
| DU
AdBot (1000+ posts) |
Mon May 13th 2024, 11:40 AM Response to Original message |
| Advertisements [?] |
| Top |
| Home » Discuss » DU Groups » Home & Family » DIY & Home Improvement Group |
|
Powered by DCForum+ Version 1.1 Copyright 1997-2002 DCScripts.com
Software has been extensively modified by the DU administrators
Important Notices: By participating on this discussion board, visitors agree to abide by the rules outlined on our Rules page. Messages posted on the Democratic Underground Discussion Forums are the opinions of the individuals who post them, and do not necessarily represent the opinions of Democratic Underground, LLC.
Home | Discussion Forums | Journals | Store | Donate
About DU | Contact Us | Privacy Policy
Got a message for Democratic Underground? Click here to send us a message.
© 2001 - 2011 Democratic Underground, LLC